Renovations run out of money and energy at exactly the stage that makes a room feel finished: the hardware. Paint and tile are the visible budget; knobs, hooks and fixtures are the details that make the room feel deliberate. Here is the full checklist, ordered by when you actually need to buy each stage.
Stage One: Before the Walls Close (Buy Early)
Anything that lives inside the wall is a Stage One purchase. Recessed lighting rough-ins, the electrical box for the vanity light, blocking behind where towel bars and floating shelf brackets will mount. Blocking is the pro trick: a solid piece of lumber between studs at the exact height shelves and grab bars will land, so nothing ever anchors into drywall alone. Decide shelf positions now, while the walls are open and adding blocking costs nothing.
Stage Two: The Fixture Layer
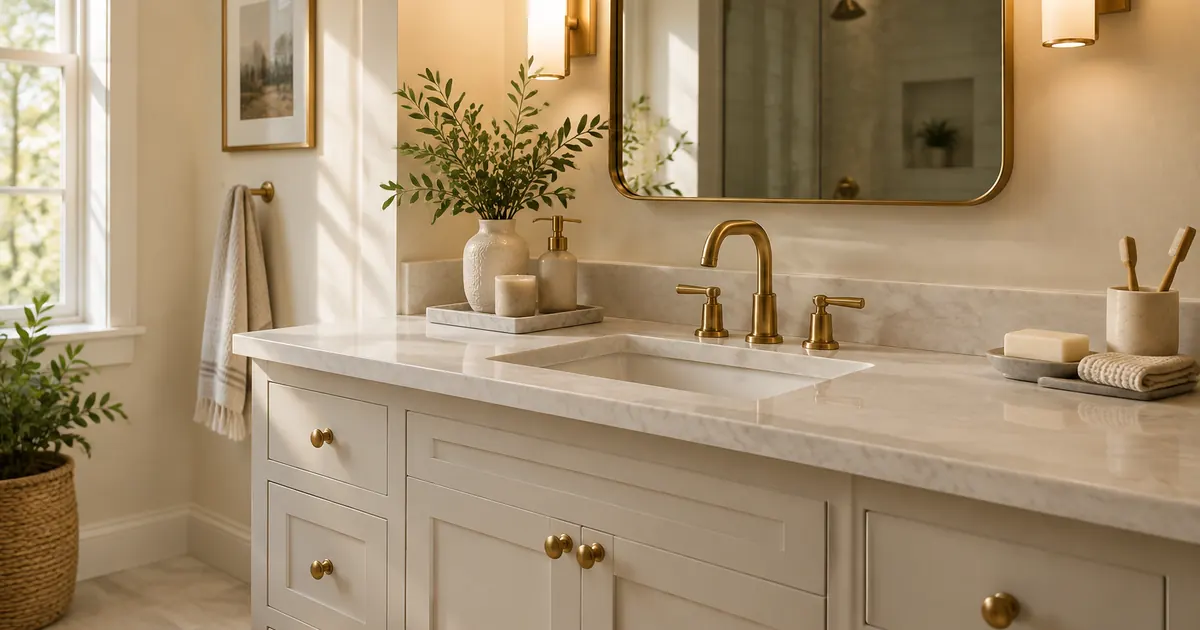
Once tile and paint are done, fixtures go in — and this is where finish families start paying off. Pick the family once and order across categories: the brushed brass faucet in the bathroom, brass knobs on the vanity, brass frames on the mirror. A bathroom in one finish family reads as designed; the same bathroom in three near-identical finishes reads as a hardware store clearance bin.
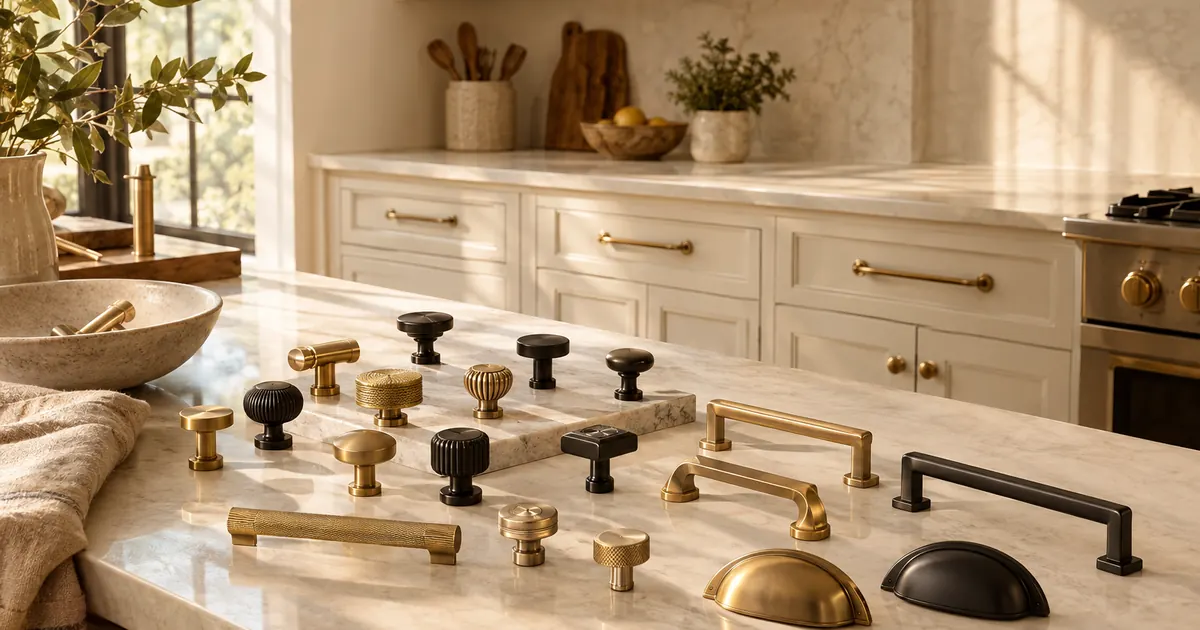
Kitchen version: the matte black pull-down faucet, black cabinet pulls, black industrial pendants over the island. One decision, made once, applied everywhere.
Stage Three: The Door Pass
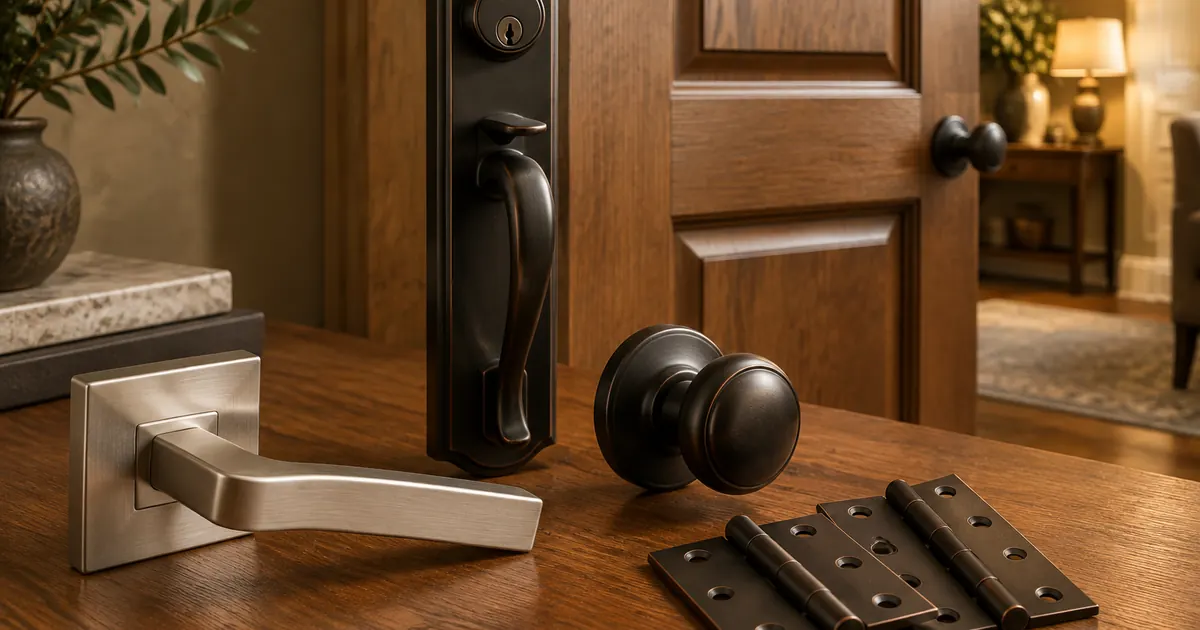
Walk the room's doors with a notepad: lever or knob (check the backset first — see our door lever specs for the measurement), hinges (ball-bearing, finish-matched), a door stop wherever a handle could meet drywall. This pass costs under $100 per door and eliminates the daily small annoyances — the squeak, the wall dent, the loose lever — that survive even expensive renovations.
Stage Four: The Living Layer
The hardware you only know you need after living in the room a week:
- Cast iron hooks behind the door where coats actually land.
- A heavy-duty picture hanging kit rated for the art you own, not the art you wish you owned.
- Metal house numbers outside — the renovation is not done until the house can be found.
- A no-drill curtain rod for the window the trim crew finished the day before painting was done.
The Budget Reality
For a typical room renovation, finishing hardware runs $300–$600 — roughly the cost of one sacrificed upgrade elsewhere (the fancy tile, the designer paint). It is the highest-leverage money in the entire budget, because hardware is what guests touch and what you interact with daily. A room with modest finishes and perfect hardware feels more finished than the reverse, every time.
One Finish Family, Ordered Once
The final tip is ordering discipline: when the room is done, order the next room's hardware from the same finish family the same week. Matching across rooms is what makes a house feel like one project instead of six. Our cabinet hardware, door hardware and lighting collections are organized by finish for exactly this reason.
The Finish Family Spreadsheet
Before ordering anything, make a one-row spreadsheet: every hardware category in the room, the finish you chose, and the quantity. It sounds bureaucratic and saves real money — bulk pricing kicks in at ten pieces of one item, and the difference between ordering knobs one room at a time versus ordering the whole house's knobs once is often 15-20%. Our project pricing exists precisely for this: email quantities and finishes, and we quote the full order. The cabinet hardware collection is where most whole-house orders start.
Ordering Timeline That Matches the Trades
Hardware arrives in days; trades arrive on schedule. Order Stage One items (blocking hardware, rough-in lighting) the week the renovation is quoted, Stage Two fixtures when tile is ordered, and Stage Three door hardware when paint is scheduled. The most common renovation delay we hear about is a $40 part holding up a $400 day of labor. The fixtures and lighting collections both list stock status, and everything ships free.
What Pros Know About Installation Order
Install in this sequence and nothing gets damaged: lighting first (ladders and fixtures before floors are protected), then faucets and sinks (plumber's first visit), then door hardware (after floors, so levers do not get painted around), then cabinet hardware (the literal last step — after the final coat cures), then the living layer of hooks, stops and rods. Every step in that list exists because someone installed it in the wrong order once.
The Return Pile: Planning for It
Even careful planners return 5-10% of renovation hardware — a pull with the wrong hole centers, a lever in the wrong backset. Our 30-day return window covers uninstalled pieces with no restocking fee, which is why the sample-first advice from our cabinet hardware guide matters: order one of anything going in ten times, confirm the fit, then order the rest. The return pile shrinks to zero and the project pricing kicks in on the full order.
Living With the Room After
Thirty days after the renovation, walk the room with a notepad. The list you write — the drawer that needs a bump stop, the corner that needs a hook, the hallway that needs the motion lantern — is the real finishing list, and it is always shorter and cheaper than the first one. Hardware is the one renovation category where the second order is genuinely the easy one: same finish family, same supplier, same fit guides, and the room finally feels like it was always this way.